Glitz and Elegance: Wall Finishing with Gold Leaf
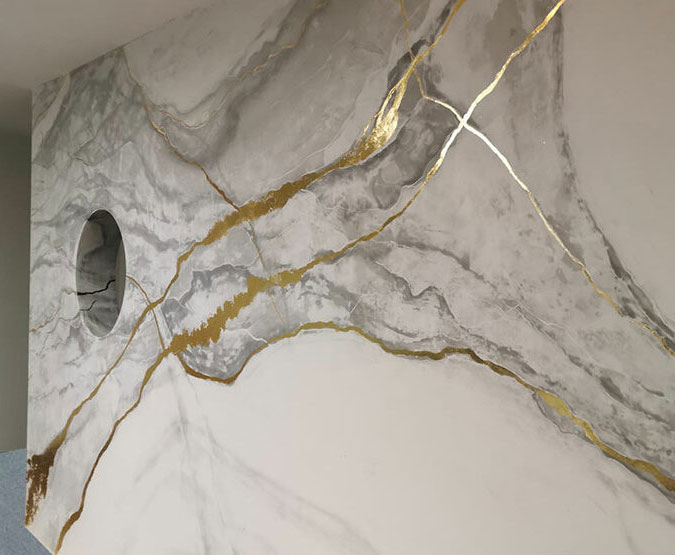
The world of interior design offers countless possibilities for enhancing a space and giving it a unique character. One technique that is still relatively unknown but extremely effective is wall finishing with gold leaf. This method, which was already used in ancient temples and palaces, is now experiencing a renaissance in modern residential and commercial spaces. But what exactly is behind this technique, and how can it be best utilized?
What is gold leaf?
Metallic leaf, often referred to as gold leaf, consists of paper-thin metal foils that are typically made from an alloy of copper, zinc, and aluminum. These imitation gold foils offer a more cost-effective alternative to real gold leaf, while still producing a comparable visual effect. Metallic leaf is available in various shades and can be easily applied to different surfaces.
We offer metal leaf in:
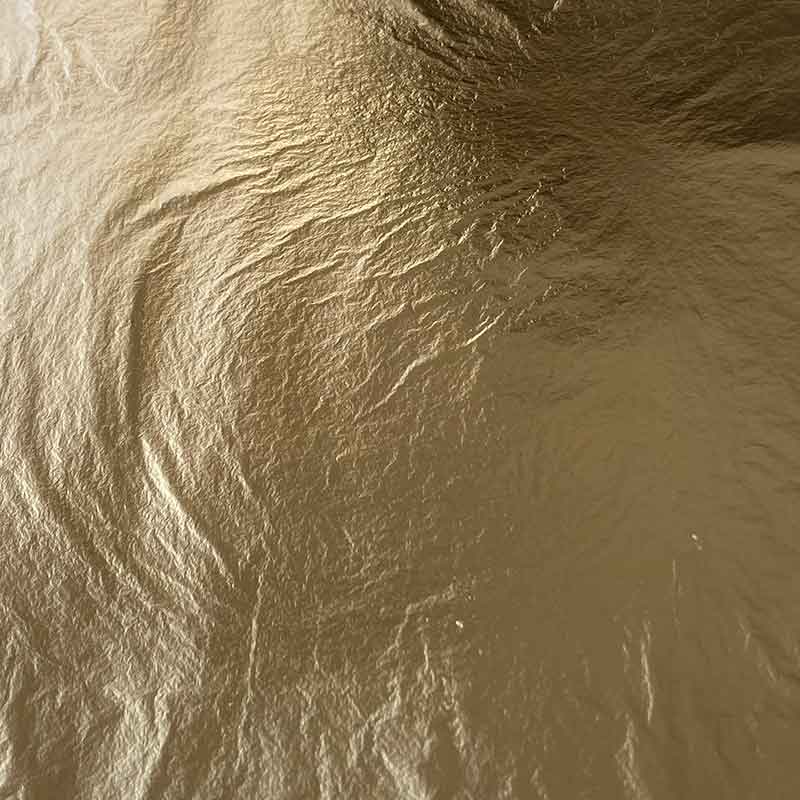
Impact metal gold
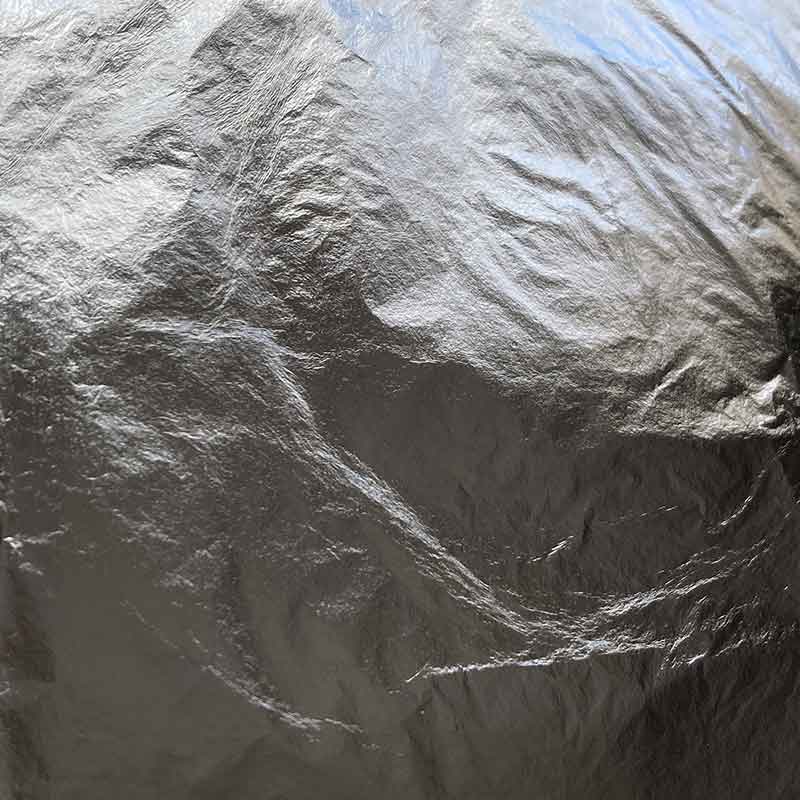
Impact metal silver

Impact metal bronze
The Art of Gold Leafing
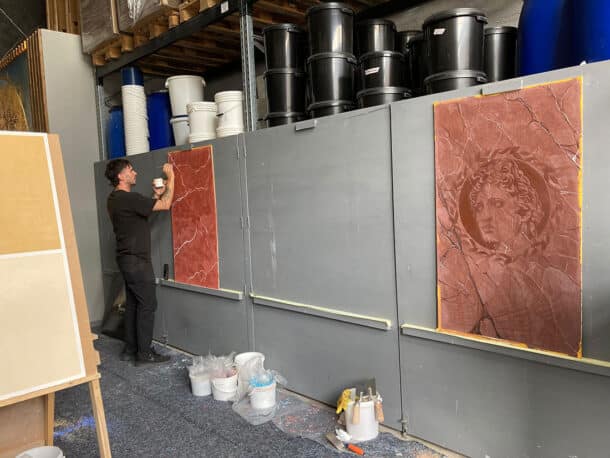
Decorating a wall with gold leaf requires precise preparation and careful execution. First, the wall must be thoroughly cleaned and smoothed to ensure optimal adhesion of the metal. Next, a special adhesive paste is applied to secure the hammered metal. This process requires patience and a light touch, as the thin metal sheets are very delicate.
Once the adhesive has dried sufficiently, the metal sheets are carefully placed on the wall and pressed into place with a soft brush or a cotton glove. Excess material is carefully removed. To ensure the finish’s durability, it is recommended to apply a protective layer of Punic wax or, alternatively, lacquer or varnish.
Applications and Benefits
The use of hammered metal is not limited to walls; furniture, ceilings, and other surfaces can also be finished with it. The technique creates luxurious accents and gives every room a warm, inviting atmosphere that can appear both classic and contemporary. Especially when combined with lighting, hammered metal reveals its full splendor by reflecting light and making the room shine.
A key advantage of this finishing method is its versatility. Whether modern, minimalist, or baroque—the gleaming surface blends seamlessly into various interior design styles. Additionally, hammered metal is a durable solution that, with proper care, will bring joy for many years.
Conclusion
Wall finishing with gold hammered metal is an impressive way to lend rooms elegance and exclusivity. Although the technique requires some skill, the effort is well worth it. With its help, rooms can be transformed into true works of art that captivate not only visually but also through their impressive craftsmanship. So if you’re ready to let your creativity run wild, gold finishing offers an inspiring way to enhance your living or working environment.
What steps are necessary to create such surfaces?
A smooth, mineral-based surface is required. This is achieved using a bonding primer pigmented with marble powder. However, if the surface is rough—that is, relatively uneven—it must first be smoothed with Kreativputz.
On top of that, a layer of Stucco Veneziano is applied, which is pre-colored in the desired shades. The color application is usually done in several layers, with intermediate sanding always performed using P400 sanding discs and P600 polishing discs to achieve smooth contours. The final layer—that is, the one applied before the metal leaf or gold leaf is applied—is finished with P1000 to P4000.
Depending on the project, the adhesive paste is applied to the polished surface using a brush or a foam roller. The thin sheets of beaten metal are then placed on the adhesive so that they overlap slightly and gently pressed into place either with a soft brush or with your fingers. Once all the sheets are in place, lightly buff the surface with the brush. This removes excess material toward the overlaps and smooths out any wrinkles. After a drying time of 2–3 days, the entire surface can be treated with Punic wax to protect it and enhance its luster.